Electronics Microscope

I have always loved microscopes, but I never really needed one before getting into electronics. My eyes have never been great, so I have had to rely on magnifying glasses to check my soldering... but it can be a slow and difficult process. A USB microscope, like the G1200, comes with a sturdy stand and makes both soldering and review a much easier experience. This 12MP (1080p video) microscope is USB powered but has an internal battery that is good enough for a couple of hours. It was only $70 Canadian, although it took three months to arrive.

I staged this photo, just to show how the microscope works at low magnification levels. Here, you can see a view of some address bus traces. The previous photo shows a resistor on one of the display boards.
The reason I bought this microscope was to help with soldering, but it is useful for reading very faded text on old ICs as well. I tested it with some old coins, and could not believe the detail when zoomed right in, so a microscope like this could be useful to a lot of hobbies... perhaps much more useful than with electronics.
Lab Setup - December 2019
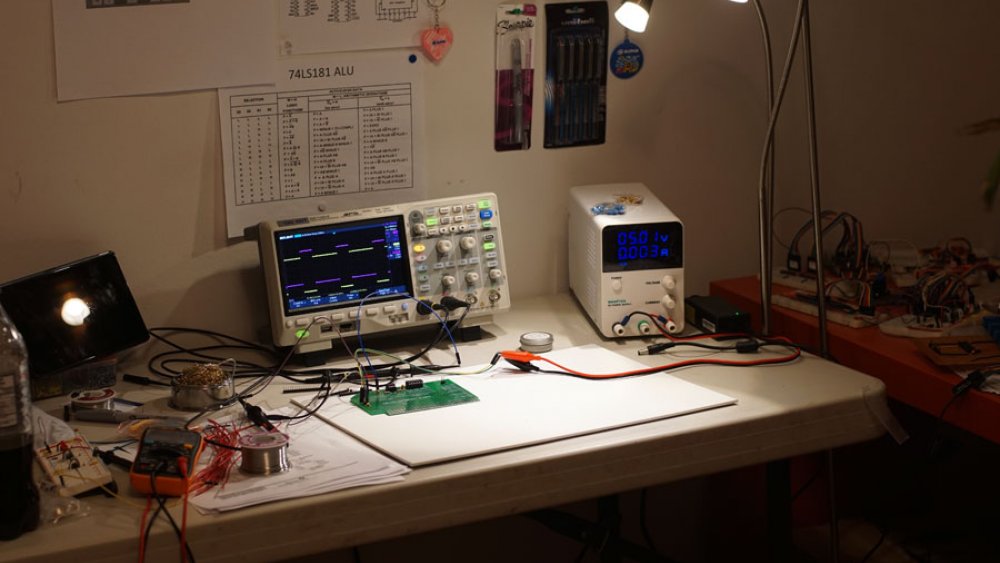
I still have a long way to go, as far as organizing all of the loose wires and components I have, but the actual work space is perfect for my needs. The "electronics lab" is basically just a folding table in a spare bedroom, but with a bench power supply and the Siglent 1104X-E oscilloscope, working on my project has really become a pleasure. The only thing I still need is a replacement for my dead laptop.
Most of my components are stored in boxes on shelves, but I pull whatever I need out and stage it to the left of where I sit. Directly in front of me is the oscilloscope, and whatever I am working on. When I am soldering, the TS-100 and solder are there as well. Beside the oscilloscope is a bench power supply. The wall behind the oscilloscope has helpful reference printouts, including pinouts of ICs I use frequently (see below). To the right of where I sit, I have an IKEA table that serves as storage for tools, prototype boards, extra wires... anything that I commonly need. I plan on replacing this with another shelving unit.
If you are interested in getting into electronics, you really only need a small work space, breadboards, and components. I only setup a permanent space in the last month, for the first five years I was working on my dining room table, out of boxes... packing everything up when I was done and pulling it back out again six months later when I had a day for it.
Sample Pinout Cheat-Sheet
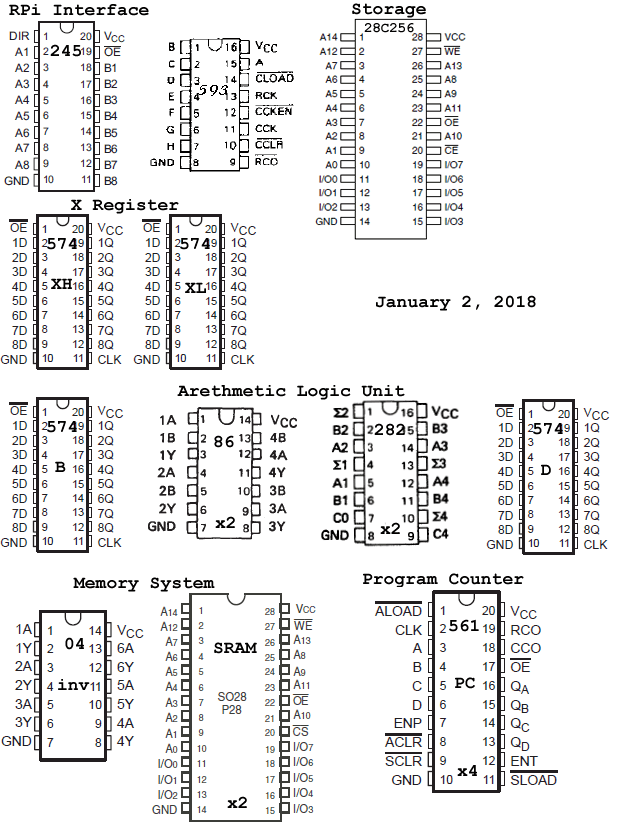
I really find these helpful, even when I am working with components I have memorized.
WANPTEK 305D Bench Power Supply
Strictly speaking, I do not need a bench power supply as I have been powering the prototypes via RaspberryPi and Arduino power... but a 0-30 volt, 5amp power supply is pretty handy and should make future development smoother and faster. This version is a switching power supply, so I will need to consider noise on the power rails, but otherwise this should be perfect for me.
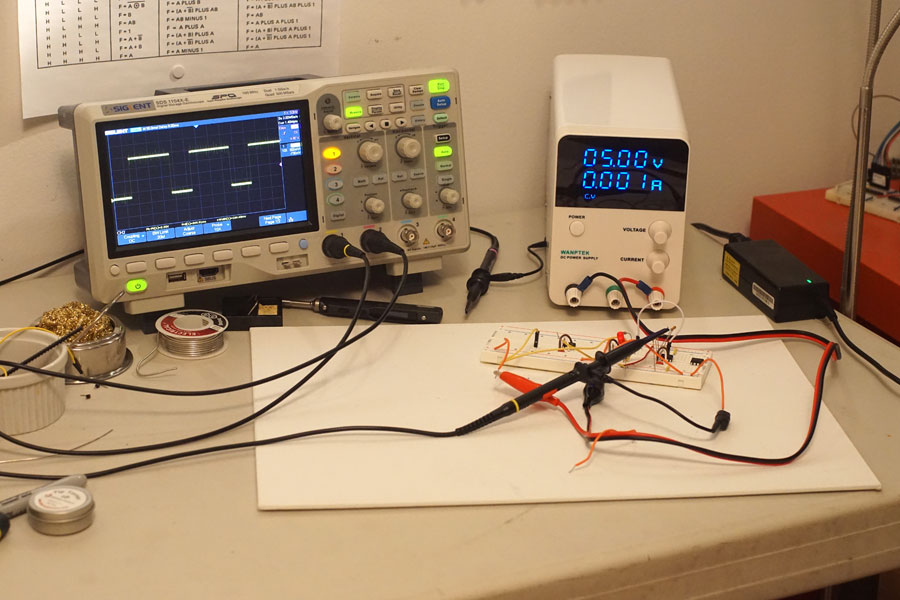
The middle connector is marked "Ground", but it is earths ground. The two end connectors are (black) negative, and (red) positive. It will take some getting used to, as I have only really used +5V, +3.3V, and ground in my breadboard circuits. Overall, I am very happy with this power supply, 30 volts and 5 amps is more than I will ever need, it is virtually silent, and the output power is pretty clean.
The cables that came with the power supply work well, but I am going to buy cables with banana connectors as well.
Siglent 1104X-E Oscilloscope
I honestly never planned to buy something like this. When I started working on an 8-bit breadboard computer, the idea that I would spend over $600 on an oscilloscope was laughable. I was only willing to spend $100 per year on components, and the only tool I had was a cheap multi-meter. In the autumn of 2019 I discovered inexpensive PCB manufacturers, such as JLCPCB and PCBWAY, and suddenly I was looking at possible MHz speeds instead of kHz. I was also starting to think about potential peripherals, including sound and possibly video systems. I had always wanted an Oscilloscope, but now it appeared I might actually have a real use for one.
I started looking for inexpensive vintage oscilloscopes, on Ebay and Kijiji, but I had very little luck in the price range I was willing to invest. At the same time, I began investigating options to buy new, and quickly identified the Hantek DSO5102p as a possibility. At the time, they were selling for under $300, and all of the reviews made it seem like a great option. My own needs could be met with a 20MHz analog oscilloscope, so a 100MHz digital one seemed like overkill... but at that price it was only 30% more expensive than thirty-year old used hardware from auction sites. I attempted to purchase vintage scopes several times, but the deals fell through in the end. Finally, I decided to buy new and started to heavily research the Hantek and a few closely priced alternatives.
While the Hantek rated really well, a four-channel version was not readily available (at least, not in Canada). A friend of mine, that is also working on a TTL-based computer, just purchased a two-channel analog oscilloscope, and I wanted whatever scope I bought to be a good compliment to his. My options for "inexpensive" quickly ballooned to $500-650, with Rigol and Siglent oscilloscopes. While $100 more expensive, the Siglent was also much newer and had several improved features, so I eventually settled on it.
I ordered it from Amazon.ca, and received it several days later in good condition. I may do a review at some point, but that is not really the purpose of my website.
Lab Storage
"Lab" is a bit grandiose for a folding table in a spare bedroom, but adding some storage has helped immensely.
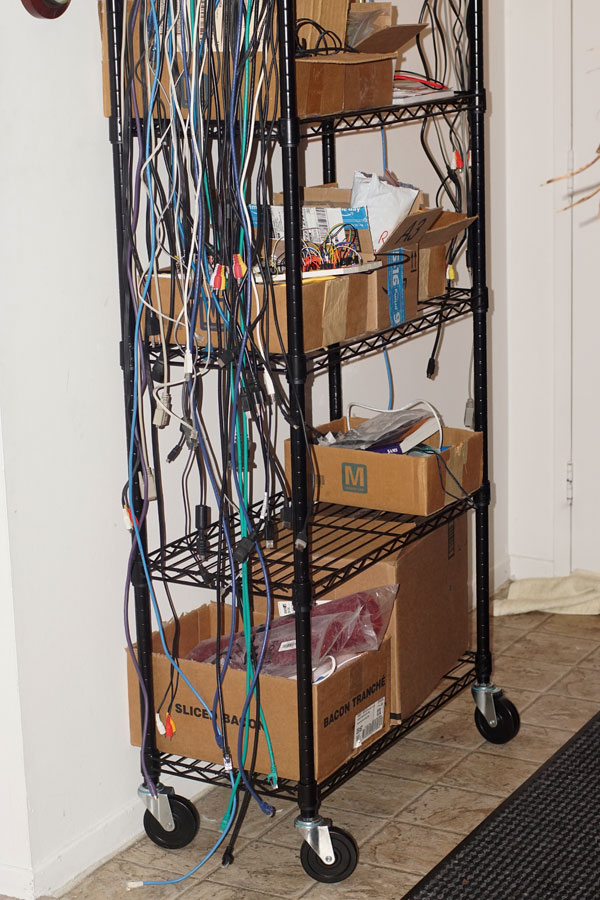
I purchased this "AmazonBasics" shelving from amazon.ca for $90, and it has been nearly perfect for my needs. It turns out that one is not enough, even one has cleared a disorganized pile of boxes up. Once I have a second shelving unit, I will be able to organize things more discretely than "all passive components jumbled in one box".
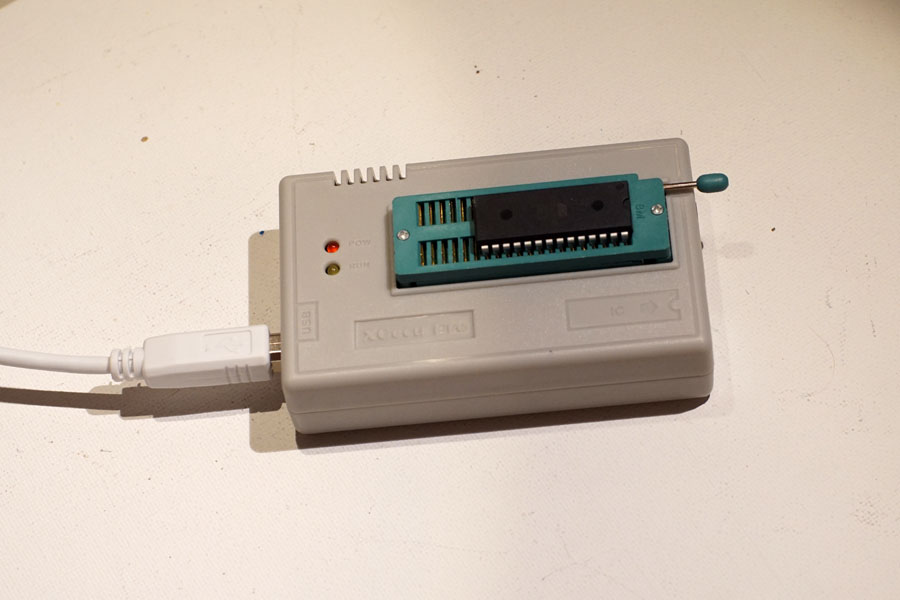
TL866II+ EEPROM Programmer
I purchased the MiniPro TL866II+ to write to 8k and 32k EEPROMs for the computer project. It rates pretty well and is inexpensive, so it was the only really obvious option for me.
My first attempt at writing to an EEPROM was to load a 28C64 entirely with zeros, and then load the following values starting at address $0000.
00 01 02 02 04 04 04 04 08 08 08 08 08 08 08 08
10 10 10 10 10 10 10 10 10 10 10 10 10 10 10 10
00 00 00 00 00 00 00 00 00 00 00 00 00 00 00 00
00 00 00 00 00 00 00 00 00 00 00 00 00 00 00 00
00 00 00 00 00 00 00 00 00 00 00 00 00 00 00 00
00 00 00 00 00 00 00 00 00 00 00 00 00 00 00 00
This is combinational logic, designed to allow a user to select a clock speed with latching buttons... only one clock is activated, based on the "fastest" clock out of the selection. The way it works is, the address changes as each button is pressed, but the value stored is based on the highest button pressed. In the case of the 4th button, there are eight possible addresses, each outputting the hex value 08. For the 5th button, there are sixteen possible addresses, each containing the hex value 10 (in decimal, that is 16).
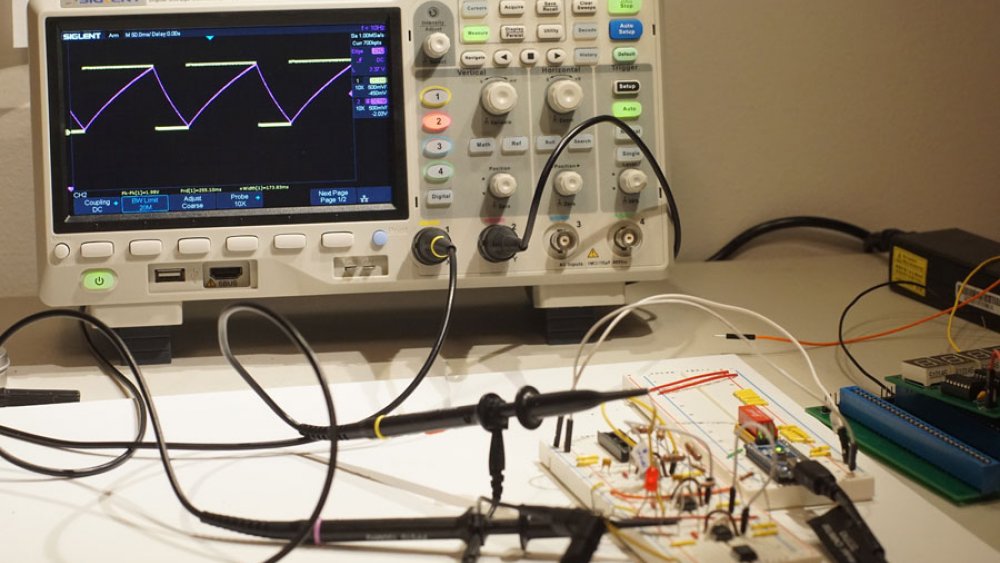
Crude Arduino Oscilloscope
I forget which youtube personality mentioned it first, but there is an arduino sketch and supporting software to create a crude oscilloscope (see information, below). The "probes" are just jumper wires, and the "scope" is pretty limited, but it was fascinating to actually see waveforms and I was able to debug a memory timing issue using the arduino as an oscilloscope.
Serial Oscilloscope
You can find more information, and downloads, at x-io.co.uk/serial-oscilloscope/.