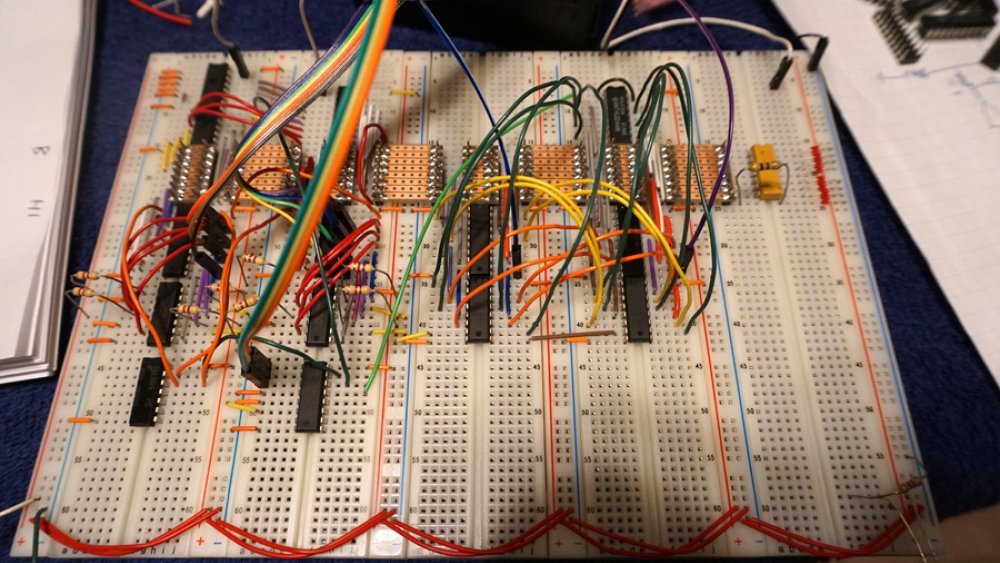
2018 - Rebuild and Simplications
By the summer of 2018, I was fed up with ALU issues, loose wires causing memory glitches, and just the state of wiring on my breadboard computer... so I started over from scratch. This video shows the new version with simplified wiring but also with similar issues. My breadboards were extremely inexpensive, and gave me a lot of headaches with poor and inconsistent connections for jumper wires.
2017 - Program Counter Working
I think my goals for the DIY computer were diverging from my friend's plans by this point, as I was already trying to get away from the RaspberryPi. I wanted the computer to work on its own, perhaps using the RPi interface just to act as storage and to trigger the start of programs. In this short video, I am using a RaspberryPi to power the breadboards, but a 555 clock and a Program Counter are working on their own. This was supposed to lead into the Instruction Register and prototype control logic by the end of 2017.
2016 - Successful ALU test
This longer video shows failed memory and successful ALU testing... although you cannot see the ALU inputs so that success is not evident in the video. I was trying to do too much, debug the ALU and memory issues at the same time, but the reality is the issue may have been the breadboards.
2016 - Successful Memory Test
This is just a simple test of the memory address registers and 32k of SRAM. The RaspberryPi was controlling everything for this.
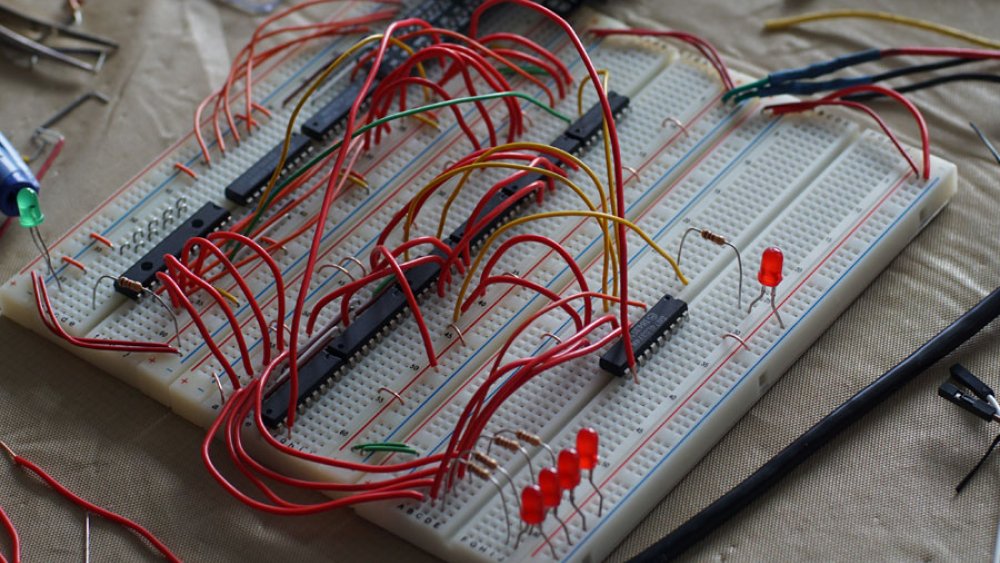
2016 - My own CPU
By 2016, I had my own collection of breadboards and TTL components, and was ready to move ahead and make this breadboard computer "compute". We had dropped the 74LS244s and 74LS374s, but had added 74LS574s. The 574 acts as an 8-bit register that has inputs and outputs lined up to make bread-boarding really easy. We also added the first part of an ALU, creating 8-bit adders using 74LS183s. I forget if my friend got his working, but we ended the session before I could get my adder working 100% of the time.
We each worked on our own version of the computer, but with the plan that they would be similar enough to share basic programs when completed. By the end of the two days, we both had a lot working... although all of it was controlled by the RaspberryPi.
- RPi interface, reading from and writing to an 8-bit data bus,
- XL and XH address registers, with multiplexor,
- Working 32k of SRAM, addressed via the XL and XH registers,
- 8-bit Adder, with 72LS244 buffer to control output to the data bus (buggy)
2015 - Electronics Hobby Begins
One of my highschool friends thought it would be fun to work together on an electronics project, to build a 8-bit TTL-based computer from scratch. I had no experience or knowledge of electronics, but it did sound like fun so I agreed. I prepared before his visit, buying a cheap multimeter, some cheap breadboards, and a Raspberry Pi. He supplied all of the parts we would use for that first visit.
My goal for that first session was to get a grasp of the basics. To that end, we built the RPi interface, using a 74ALS245 transceiver, 74LS244 line drivers, and 74LS373 octal latches. Our plan was to have 16-bit addressing, so the RPi would have to load half of the address registers at a time, with the two 74LS374s acting as XL, and XH. I was learning the basics of electronic circuitry, learning the 7400 series family of TTL logic ICs, and learning python at the same time... and none of it really stuck with me.
I went to mouser to order my own set of components, including jumper wires and a variety of TTL logic. I also ordered a 6502, 6522, some SRAM, and an 8k EEPROM. This started a process where I would place a $100 mouser order each year, to prepare for us working together on this project.